Table des matières
Export to Retroarch
Available since version 2.0.1.0 beta 9
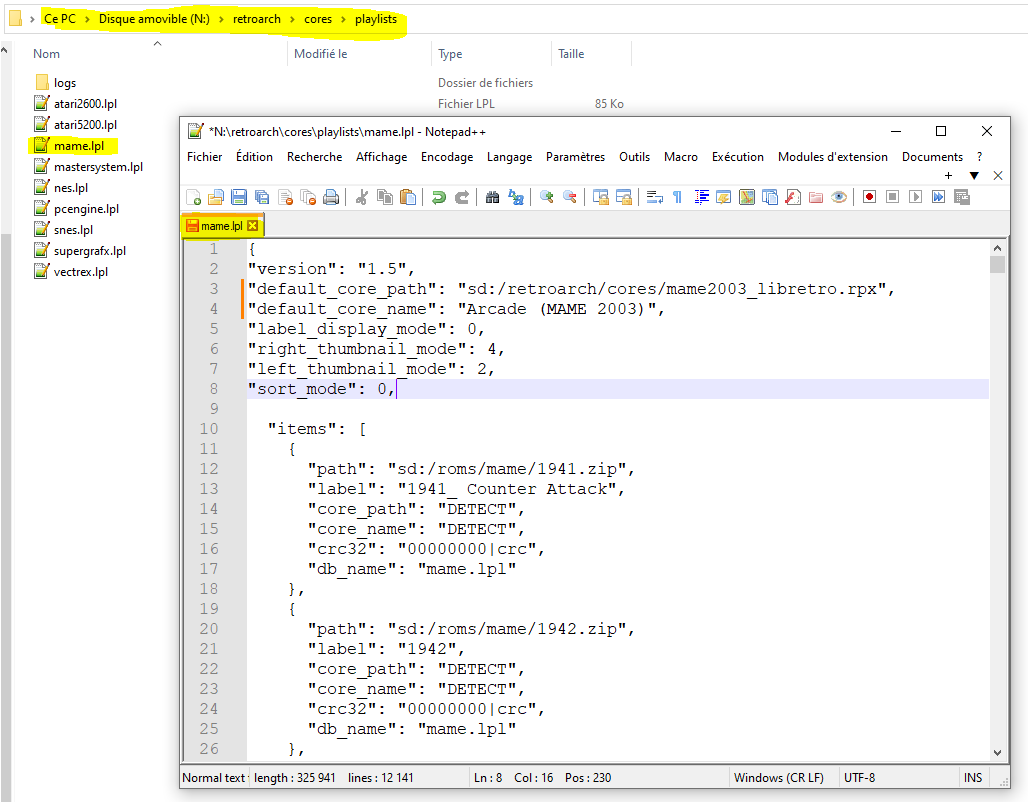
Since version 2.0.1.0 Beta 9, it is possible to export to Retroarch your Media as well as Overlays scraped by ARRM This operation also allows you to create associated Playlists.
This may be useful if you use other platforms that support Retroarch: Windows, Linux, Raspberry, Android, Ios, MacOS, Xbox Series/One, PsVita, PSP, PS2, PS3, PS4, Switch, WiiU, Wii, Gamecube, Nintendo 3DS/2DS…
Procedure
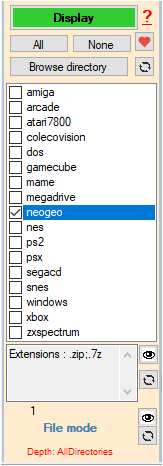
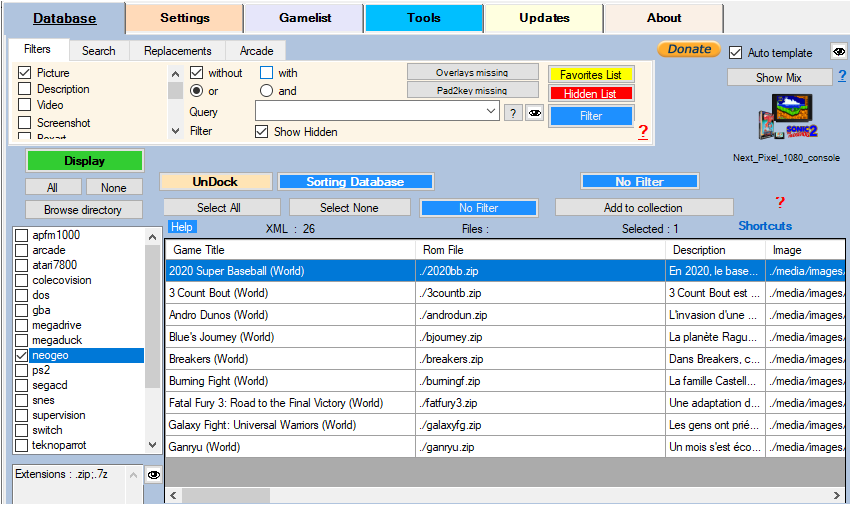
- Select the system (only one) then click on Show
- When the Database is filled with the Roms found,
- Select the Roms you wish to export to Retroarch
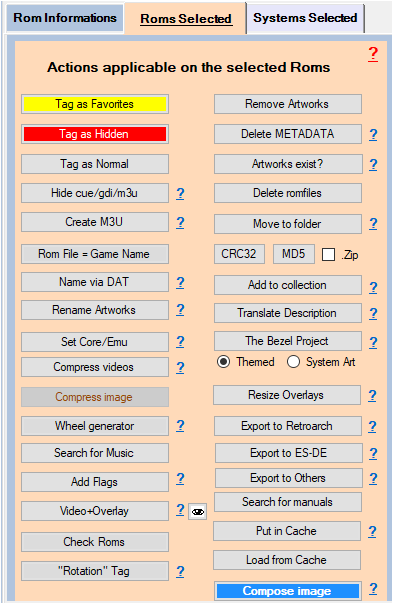
- Click on the Export to Retroarch button
Setting the export module
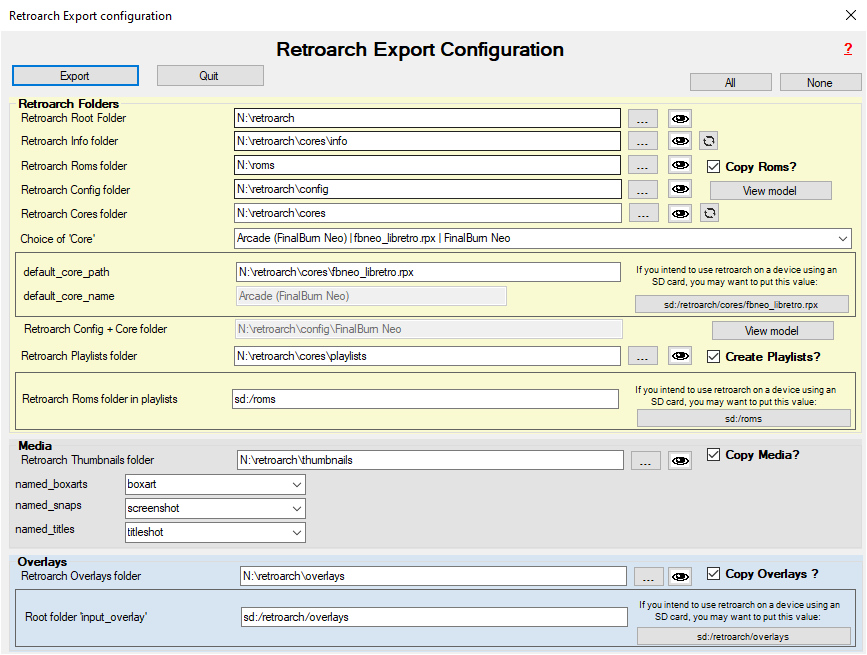
After clicking on the Export to Retroarch button located in the Selected Roms tab, the settings module appears:
Retroarch Folders Panel
- Retroarch Root Folder: indicate the root folder of your Retroarch
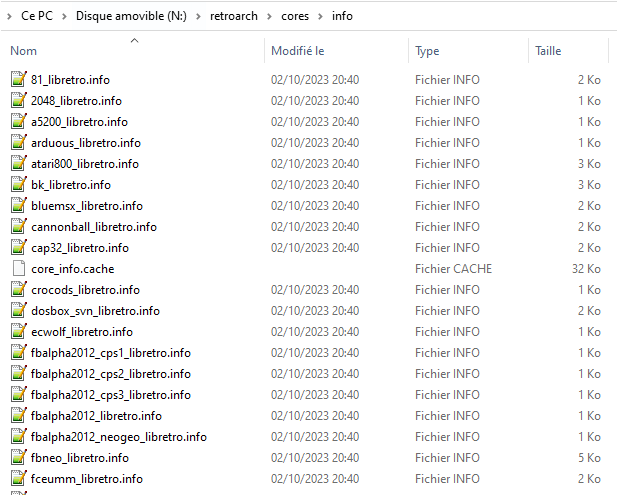
- Retroarch Info folder: indicate the info folder of your Retroarch. This folder contains all the .info of all cores available on your Retroarch
- Retroarch Roms folder: indicate the Roms folder of your Retroarch
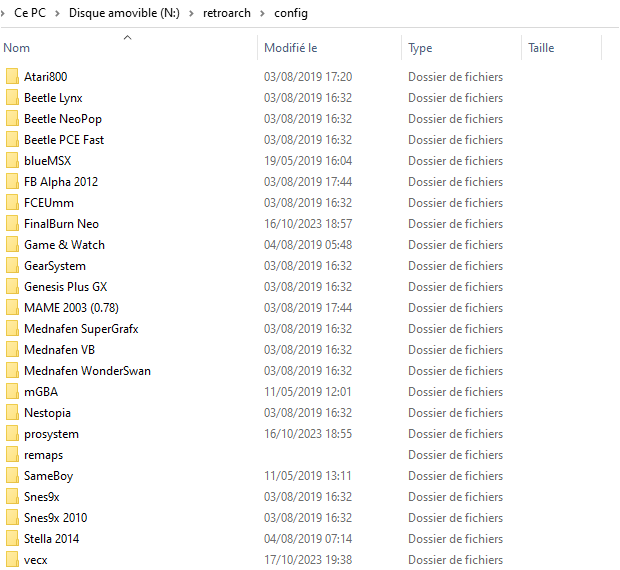
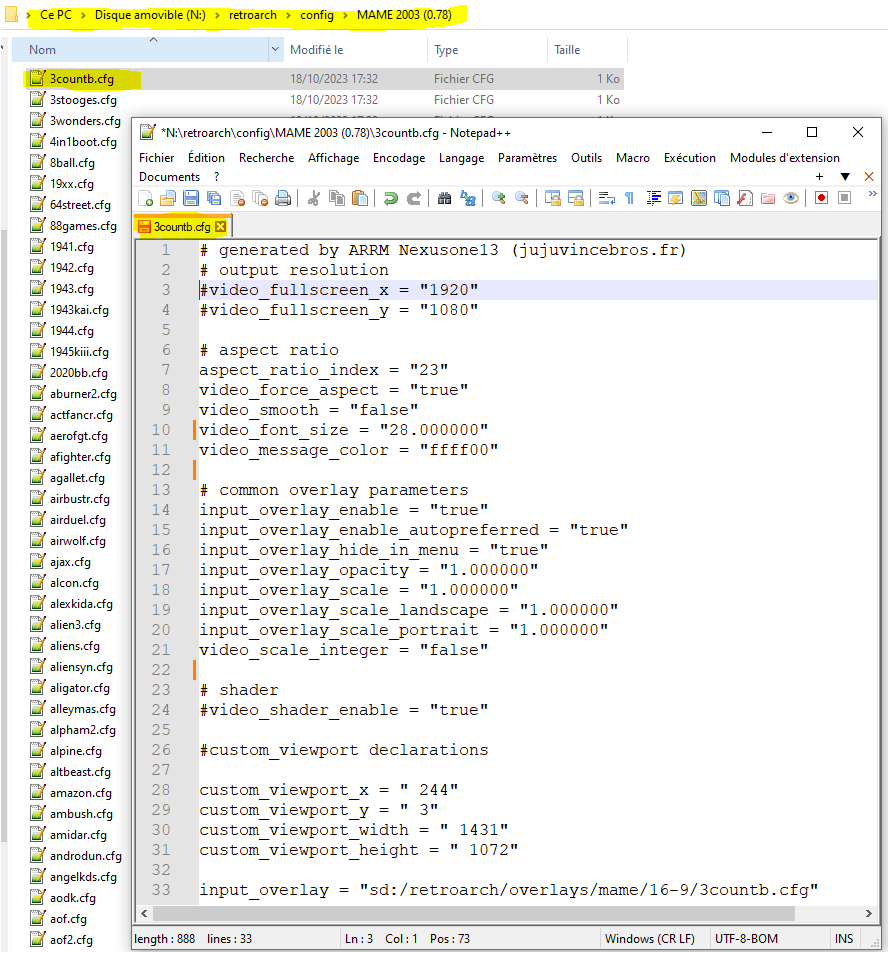
- Retroarch Config folder: Specify the Retroarch Config folder. This folder contains the folders of the different cores in which the overlay parameter files will be created.
- View model button: Allows you to edit the model file which will be used to compose the overlay .cfg file for all cores (see: Customize the overlay configuration files)
- Retroarch Cores folder: indicate the cores folder of your Retroarch
- Choice of core: Indicate the desired core by selecting it in the combobox
- default_core_path : Set the path of the default_core_path as it will appear in playlists (.lpl)
- if you use an SD card in a WII U, you will need to indicate here: sd:/retroarch/cores/core name (if your retroarch folder is named like this on your sd card)
- otherwise indicate the path to the core: c:\retroarch\cores\core name
- default_core_name : Default core name selected
- Config + Core Directory Folder: Displays the full path to the Core parameter folder which will contain the configuration files for the overlays per game
- View model button: Allows you to edit the model file which will be used to compose the overlay .cfg file for the selected core (see: Customize the overlay configuration files)
- Retroarch Playlists folder : indicate the Playlists folder of your Retroarch which will contain the playlists generated by ARRM.
- Retroarch Roms folder in playlists: indicate the Roms folder as it should appear in the playlists files.
- if you use an SD card in a WII U, you will need to indicate here: sd:/retroarch/roms (if your retroarch folder is named like this on your sd card)
- otherwise indicate the path to Retroarch: c:\retroarch\roms, d:\roms etc…
Checkbox Copy Roms?: if checked the selected Roms will be copied to Retroarch Roms folder
Checkbox Create Playlists?: if checked the Playlist of the selected system will be created
Click on the Export button to start processing
Panel Media
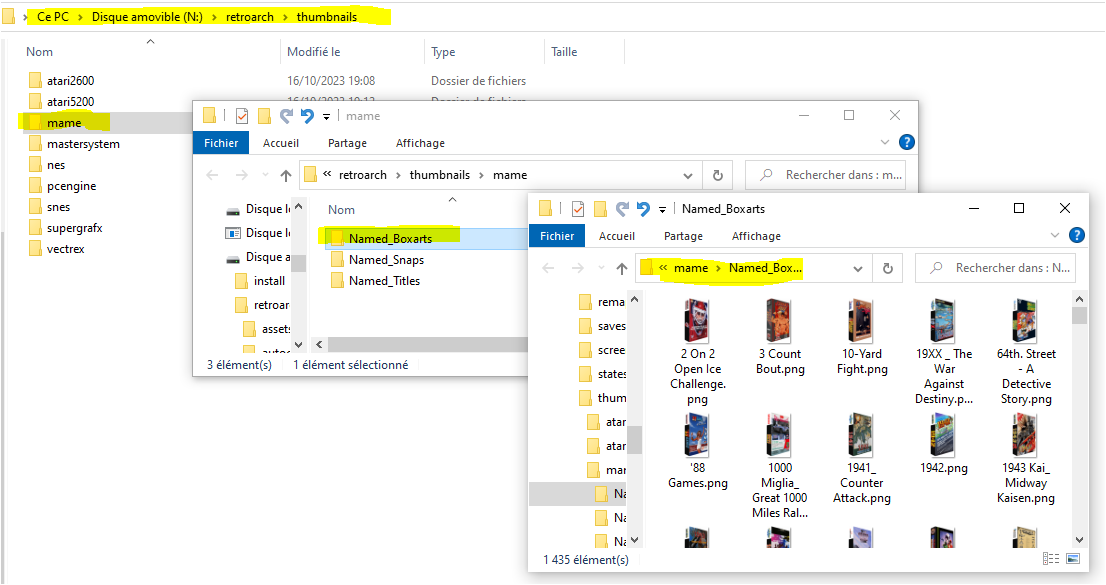
- Retroarch Thumbnails folder: Indicate the folder that will receive the media. 3 subfolders will be automatically created:
- named_boxarts
- named_snaps
- named_titles
The associated combo boxes will allow you to choose which ARRM media you want for each of the Thumbnails subfolders
- Checkbox Copy Media?: if checked the Media will be copied into the Thumbnails subfolders for the selected Roms
Panel Overlays
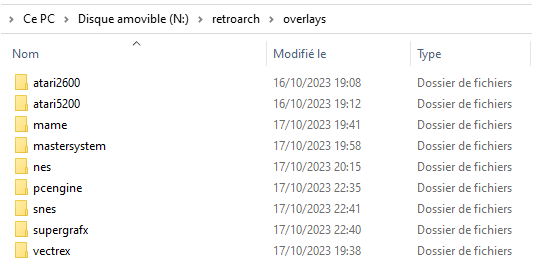
- Retroarch Overlays folder: Indicate the folder which will receive the overlays:
These folders contain the game overlays
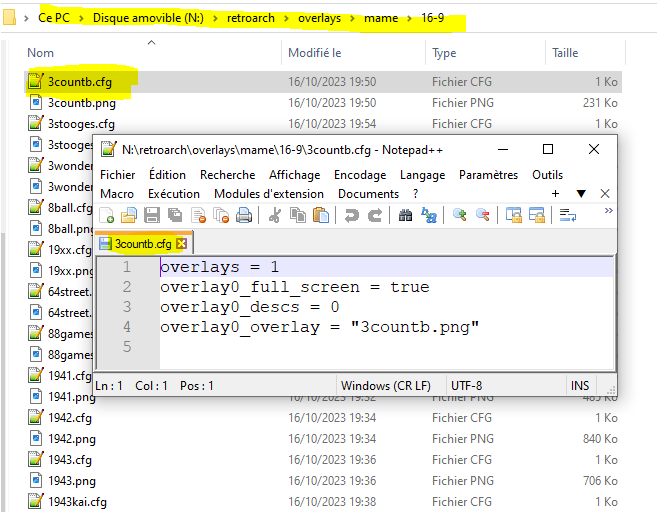
- Root folder 'input_overlay'“: Indicate the overlays folder as it should appear in the overlay configuration files on the line input_overlay =
- if you use an SD card in a WII U, you will need to indicate here: sd:/retroarch/overlays (if your Retroarch folder is named like this on your sd card)
- otherwise indicate the path to the overlays folder: d:\retroarch\overlays, d:\overlays etc…
- Checkbox Copy Overlays?: if checked, the Overlays and their configuration file will be copied into the Retroarch Overlays folder and into the subfolder of the chosen Core of the Config Directory folder +Core
Customize overlay configuration files
ARRM uses the configuration file: model_bezel_games_retroarch.text which contains the common information for the core chosen when creating the overlay configuration files.
ARRM will take care of adding the input_overlay line as well as the viewport coordinate references if available.
This file is available in the folder %appdata%\Nexouille Soft\Arrm\ressources\overlays\games\model_bezel_games_retroarch.txt
It will be copied by ARRM in Retroarch Config folder and in Config + Core Directory folder
If you want to personalize your overlays according to the core, all you need to do is adapt the model_bezel_games_retroarch.text file present in the Config + Core Directory Folder For example, you can change aspect_ratio_index

